

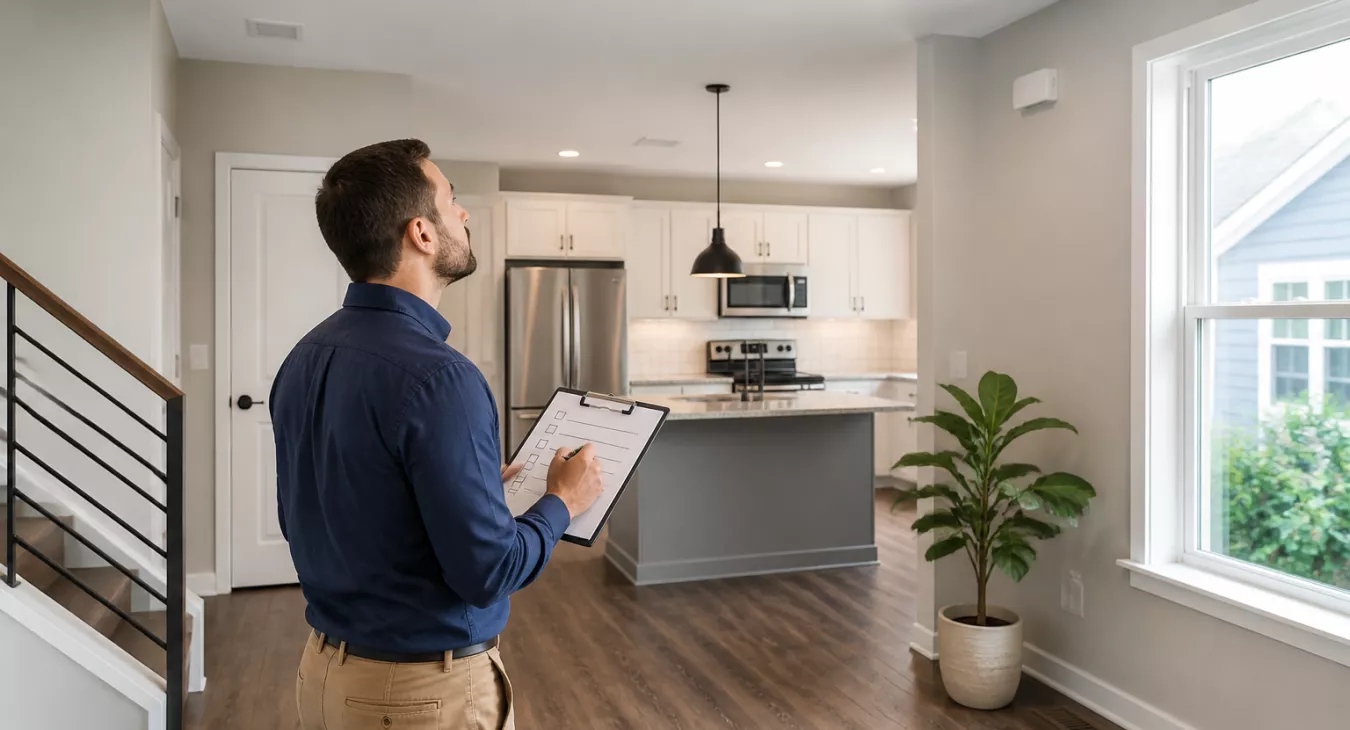
Use this rental property walk through checklist to inspect before buying, protect your asset, and avoid costly disputes with tenants.
Products and Tools Mentioned in this Post


Table of Contents
- Why a Rental Walk-Through Checklist Matters
- When to Conduct a Rental Walk-Through
- How to Prepare for a Rental Walk-Through
- Room-by-Room Inspection Checklist
- Safety Systems and Compliance Checks
- Normal Wear and Tear vs. Tenant Damage
- Documentation and Recording Best Practices
- Handling Disputes and Security Deposit Deductions
- Using Walk-Through Data in Your Investment Analysis
- Conclusion
- Frequently Asked Questions
A solid rental property walk through checklist is one of the most valuable tools you'll ever use — and yet most investors skip it until a dispute costs them real money. Whether you're prepping a unit for incoming tenants, doing a move-out inspection, or checking in mid-lease, a structured walkthrough protects your asset, keeps you out of legal trouble, and gives you the documented proof you need when security deposit fights happen. This is where most landlords get careless. Before keys change hands, here's exactly what to inspect, document, and record.
New to long-term rental? Start with our Long-Term Rental Investing Guide.

Why a Rental Walk-Through Checklist Matters
Your rental properties are business assets. They need systematic condition tracking, plain and simple. A signed, dated walk-through report does something crucial: it establishes your baseline before the tenant moves in, so you can actually prove what damage existed before versus what they caused.
That matters for disputes. But here's what really protects your NOI — catching maintenance issues while they're still cheap to fix. Water intrusion at move-in? That's a $50 caulk job. Same leak sitting for a year? Now you're looking at mold remediation and lost rent. Early detection of HVAC failures, roof leaks, and plumbing issues is why your rental property ROI stays intact.
And there's another layer to this. Walk-throughs create accountability on both sides of the lease. When tenants sign off acknowledging the property condition at move-in, they're far less likely to dispute your deductions at lease-end. You've got documentation. That's your shield if things escalate to mediation or small claims court.
Back to topWhen to Conduct a Rental Walk-Through

Get the timing right. Skip this, and you're opening yourself up to disputes, surprise damages, and lost security deposit leverage. Three inspection windows exist for a reason — and you need to hit all of them.
Pre-Move-In Inspection
Do this before the tenant gets those keys in their hands. The unit needs to be clean, repaired, and ready to rent as-is. Here's the problem: if you wait until after handoff, you've created plausible deniability. Who caused that scuff? When did the sink start leaking? Both of you need to walk through together, sign off on the report, and walk out with copies. It eliminates confusion later.
Post-Move-Out Inspection
Wait until the tenant's completely gone and every box is out. Furniture hides things. Damage to floors, walls, even pest infestations can be masked by belongings still in the unit. Once you've got a clear view, compare it directly against your pre-move-in documentation. That's how you determine if a security deposit deduction is justified or defensible.
Mid-Tenancy Inspections
Most states let you inspect during the lease. You'll typically need 24–48 hours written notice, but check your jurisdiction's landlord-tenant statute first — rules vary. Why do this? Deferred maintenance gets worse. Lease violations escalate. Conditions deteriorate quietly until you've got a $3K problem instead of a $300 one. And if you're running Airbnb arbitrage or other short-term rental plays, expect to inspect much more frequently. That's just the model.
| Inspection Type | When to Conduct | Recommended Notice | Purpose |
|---|---|---|---|
| Pre-Move-In | Before keys are transferred | Scheduled with tenant; no minimum typically required | Establish baseline condition |
| Mid-Tenancy | Every 6–12 months during lease | 24–48 hours written notice (state-specific) | Catch maintenance issues; confirm lease compliance |
| Pre-Move-Out (Optional) | 2–4 weeks before lease end | Mutual scheduling | Give tenant opportunity to cure before final inspection |
| Post-Move-Out | After tenant fully vacates | N/A — tenant not present | Document final condition; determine deposit deductions |
How to Prepare for a Rental Walk-Through

Show up without a plan? You'll waste time and torpedo your documentation. Here's what you need before walking through:
- Printed or digital checklist — go room-by-room, stay organized
- Smartphone or camera — shoot photos and video of every room and every damage issue
- Measuring tape — specific measurements matter when you're quantifying damage (like that 12-inch gouge in the bedroom 2 hardwood)
- Flashlight — peek into closets, under sinks, and mechanical spaces
- Previous inspection report — compare move-in vs. move-out conditions side-by-side
- Lease agreement — reference tenant obligations on the spot
And here's the critical part: notify tenants in writing. Check your state's legal requirements first. Set the tone upfront by explaining this is a property condition assessment, not a judgment on them. That framing cuts tension and gets you better cooperation. After you've finished the walkthrough, cross-reference your findings with the move-in checklist template your lease mentions. Consistency across tenancies protects you.
Back to topRoom-by-Room Inspection Checklist

Go through the property room by room. Don't skip sections or rush — that's exactly where you'll miss critical issues that'll come back to bite you during a tenant dispute or cap rate recalculation. Rate every single item using the same scale: Excellent, Good, Fair, or Poor. Consistency here matters.
| Area | Key Items to Inspect | Condition Scale | Notes Field |
|---|---|---|---|
| Exterior & Entry | Siding, roof visible areas, gutters, driveway, front door lock, doorbell, mailbox | Excellent / Good / Fair / Poor | Date, photo reference # |
| Living Areas | Walls, paint, baseboards, flooring, windows (open/lock/seal), outlets, light fixtures, ceiling fans | Excellent / Good / Fair / Poor | Note stains, holes, cracks |
| Kitchen | All appliances (function & cleanliness), cabinets/drawers, countertops, sink/faucet, garbage disposal, exhaust fan | Excellent / Good / Fair / Poor | Run appliances to test |
| Bathrooms | Toilet (flush, seal), tub/shower caulk and grout, vanity, faucets, water pressure, exhaust fan, mirror | Excellent / Good / Fair / Poor | Check under sink for leaks |
| Bedrooms | Walls, closet doors/tracks, flooring, windows (lock function), outlets, light fixtures | Excellent / Good / Fair / Poor | Test every window lock |
| Laundry & Utility | Washer/dryer connections, water heater age/condition, HVAC filter, breaker panel, dryer vent | Excellent / Good / Fair / Poor | Note equipment age/model |
Need something more comprehensive? Check out this real estate investment property inspection checklist for a deeper dive into structural and systems-level assessment beyond what a tenant walk-through covers.
Back to topSafety Systems and Compliance Checks

Don't assume last month's inspection covers you. Safety compliance gets documented at every single walkthrough — no shortcuts.
Smoke and Carbon Monoxide Detectors
Press the test button on every detector you find. Smoke detectors belong on every level and outside each sleeping area. CO detectors? They go near bedrooms if you've got gas appliances or an attached garage in the mix. And here's what most investors miss: check the manufacture date. Most detectors tap out at 10 years, so that unit from 2014 isn't doing the job anymore. Write down battery status too — it matters when you need to prove compliance.
Fire Extinguishers
They need to be mounted and accessible. Is the gauge in the green zone? Check. Within service date? Non-negotiable. Some jurisdictions mandate kitchen-specific extinguishers — this is where you verify your local code, not guess. One wrong call here costs you liability exposure you don't want.
Emergency Egress and Lead Paint
Every window marked as emergency egress has to open fully. Painted shut windows are a deal-breaker from a life-safety standpoint. Then there's lead paint. If the property was built before 1978, you need that EPA-required disclosure signed and filed. This isn't a recommendation — it's a federal requirement under the Residential Lead-Based Paint Hazard Reduction Act. Blow this and you're looking at fines, not just unhappy tenants.
Before you close, there's one more piece: title issues. They follow the asset right into your portfolio if you're not careful. Check out our guide on how to research property liens before buying so you know exactly what you're walking into.

Normal Wear and Tear vs. Tenant Damage
Here's the reality: security deposit disputes almost always come down to one question—what's normal wear versus what the tenant actually broke? And if your walk-through documentation isn't bulletproof, you'll lose that argument every single time. The details matter.
| Property Area | Normal Wear and Tear (Not Chargeable) | Tenant Damage (Chargeable) |
|---|---|---|
| Walls | Minor scuffs, small nail holes from pictures | Large holes, crayon/marker marks, unauthorized paint color |
| Flooring | Light carpet wear in traffic areas, minor surface scratches on hardwood | Stains, burns, gouges, missing tiles, torn carpet |
| Doors & Windows | Loose hinges from regular use, faded finish | Broken glass, damaged locks, holes in doors |
| Appliances | Normal surface wear, minor scratches | Broken knobs, interior damage from neglect, missing parts |
| Bathrooms | Mild soap scum, worn caulk after years of use | Mold from neglect, cracked fixtures, unauthorized modifications |
| Fixtures & Hardware | Faded finish, minor tarnish | Broken towel bars, missing light covers, damaged switch plates |
Documentation and Recording Best Practices

Your photos and checklists are worthless if nobody can find them or verify when they were taken. Here's how to build documentation that actually holds up when a tenant dispute goes sideways.
- Video walkthrough first — shoot a continuous, narrated video sweep before you snap a single still photo. It's much harder to argue with video than with cherry-picked images.
- Photograph in sequence — go room by room, left to right, so you (or a judge) can navigate your file months later without confusion.
- Capture timestamps — turn on your device's date/time stamp. Cloud-storage platforms like Google Photos and iCloud log metadata automatically.
- Write specific descriptions — "small stain" won't cut it. "Approximately 4-inch diameter rust-colored stain on carpet, southwest corner, master bedroom" is defensible in court.
- Both parties sign and date — a checklist without tenant signature carries way less weight when things get litigious.
- Provide tenant a copy immediately — most states require this within a set number of days anyway. Just do it right away and eliminate the argument.
Managing five units or fifty? Digital property management platforms can handle inspection scheduling and report storage for you. But don't just pick the platform with the most features. Check out our coverage of the AppFolio data breach investigation and AppFolio's antitrust dispute before you hand over tenant and property data to any vendor.
Back to topHandling Disputes and Security Deposit Deductions
Your documentation package—signed checklist, timestamped photos, video, and written condition notes—is your primary defense when a tenant challenges a deduction. This is non-negotiable. Compare the pre-move-in and post-move-out reports side by side, then itemize each deduction with a corresponding photo reference number and repair estimate. Make it airtight.
Here's where most landlords slip up: security deposit laws vary wildly by state. Maximum deposit amounts, itemization deadlines, required return timelines—they're all over the map. Fail to follow these rules—even when the damage is 100% legitimate—and you're looking at mandatory penalty payments to the tenant. Don't guess on this one. Always confirm the requirements in your specific jurisdiction.
Can't resolve a dispute directly? Many states offer landlord-tenant mediation as an alternative to small claims court. But here's what actually matters: maintain every communication in writing and keep a documented timeline of inspections, notices, and correspondence. Your paper trail is what wins cases.
Before you close on a rental property, you need to review the full scope of seller disclosures and due diligence documents. Our guide on 10 critical seller documents to review before buying investment property covers what to request and evaluate pre-close.
Back to topUsing Walk-Through Data in Your Investment Analysis
Inspection data isn't just a legal box to check — it's critical to your underwriting. You're looking at a property with chronic maintenance problems, years of deferred repairs, or constant tenant churn? That's a red flag for a lower cap rate assumption. When you combine this with your rental property analysis framework, condition documentation becomes your roadmap. It lets you nail down realistic maintenance reserves and stops you from overpaying for properties that look great in photos but drain cash flow.
Want a complete pre-purchase due diligence playbook? Check out the flip deal analysis walkthrough. And don't skip our breakdown on how to finance your first rental property — it covers every option.
Back to topConclusion
A rental property walk through checklist isn't bureaucratic paperwork. It's the foundation of professional property management and your direct shield against costly disputes. Use it consistently at every move-in, move-out, and periodic review. A well-structured inspection process protects your security deposit collections, keeps maintenance costs predictable, and creates the documented evidence that determines outcomes when disagreements arise.
Build the habit before it's needed. By the time a dispute surfaces, it's too late to go back and document what you didn't capture on day one.
Back to top
Frequently Asked Questions
What's a rental property walk-through checklist?
Think of it as your paper trail. It's a structured document that captures the exact condition of a rental property at a specific moment—typically at move-in and move-out. You're documenting every room and major system, rating conditions, writing detailed notes, and getting signatures from both you and the tenant. This checklist becomes your legal foundation if a security deposit dispute ever lands in small claims court.
Is a rental walk-through required by law?
It depends where you operate. California and Hawaii? They've got specific statutes requiring you to offer tenants a pre-move-out inspection and notify them in writing of any deficiencies. But even if your state doesn't mandate it, you should be doing this anyway. It's not just best practice—it's financial protection. Run your state's landlord-tenant statute to confirm what applies to you.
What's the difference between normal wear and tear and tenant damage?
Normal wear and tear is what happens naturally. Minor wall scuffs, light carpet wear in the hallway, faded paint after five years of sunlight—that's all expected deterioration from reasonable use. Tenant damage is different. Burns, large holes punched in drywall, broken fixtures, unauthorized renovations. You can only deduct tenant damage from the security deposit; charging for normal wear and tear will get you sued. Most states have made this distinction crystal clear in their statutes.
How should I document a rental property walk-through?
Start with a continuous narrated video walkthrough of the entire unit. Then photograph each room in sequence—make sure your camera's timestamp function is on. Pull out a checklist (printed or digital) and rate the condition of every item with specific written descriptions. Include dimensions and exact locations for any damage. Once the tenant signs it, hand them a copy on the spot and file yours with the photos and video in a dated folder. Three years from now, you'll be glad you did.
Can I conduct a mid-tenancy inspection without the tenant present?
Most states let you inspect with proper written notice—usually 24 to 48 hours. And no, you don't typically need the tenant there. But some jurisdictions add their own rules. Check your state's landlord-tenant entry statute before you schedule anything, and always send notice in writing. Keep that written notice in your files.
Back to top